The Ultimate Shimanami Kaido Guide
In early October this year, I found myself sitting on a bike on top of a 4km long suspension bridge, nothing but water below me. I was soaking wet, my waterproof jacket having long given up on doing its job. My legs ached, one of my backpack straps was digging into my shoulder, my glasses were flecked with rain. And I felt nothing but joy. I’d made it to the final bridge of the Shimanami Kaido after two days of cycling, and I was proud of myself.
On our first trip to Japan in 2024, my husband, a keen cyclist, had mentioned the Shimanami Kaido as something he’d love to try. We did zero research, zero planning, and unsurprisingly, it didn’t work out. On our return journey this year, we agreed we’d finally do it, and this time we’d plan it.

As wonderful as Japan is for spontaneous adventures, the Shimanami Kaido is something you really do need to plan in advance. Especially if you’re not a regular cyclist, or you’re a first time visitor to Japan.
In planning my own trip, I found there was plenty of information scattered across the web about bike rentals, and accounts from others who’d done the trip. What I didn’t find, though, is a one-stop shop, a kind of checklist that covered everything I’d need to plan as well as letting me know what to expect.
On top of that, my husband and I are both vegan, so that adds a layer of complexity when thinking about food in an area of Japan that’s quite remote, and very seafood-heavy.
What this Guide Covers
| The TL;DR: – Best route: 2 days, Onomichi → Imabari – Best month: late Sept–early Nov – Best bike: Public rental (book e-bikes early) – Best island overnight: Omishima or Ikuchijima – Must-do prep: luggage forwarding, padded shorts, start early, hydrate |
Planning a trip from abroad can be daunting, especially in a country you’re not familiar with.
I really want others to be able to have the same wonderful experience I had, so I’ve put together this guide to the Shimanami Kaido that covers everything you need to know, including things I wish I’d known beforehand.
I’ve covered bike rentals, accommodation strategy, an island guide, packing list, the budget breakdown and even a separate guide for my fellow vegan travellers.
My aim with this guide is to give you everything you need to think about, so that by the time you get to Japan, all you need to do is get on the bike and go!
What is the Shimanami Kaido?
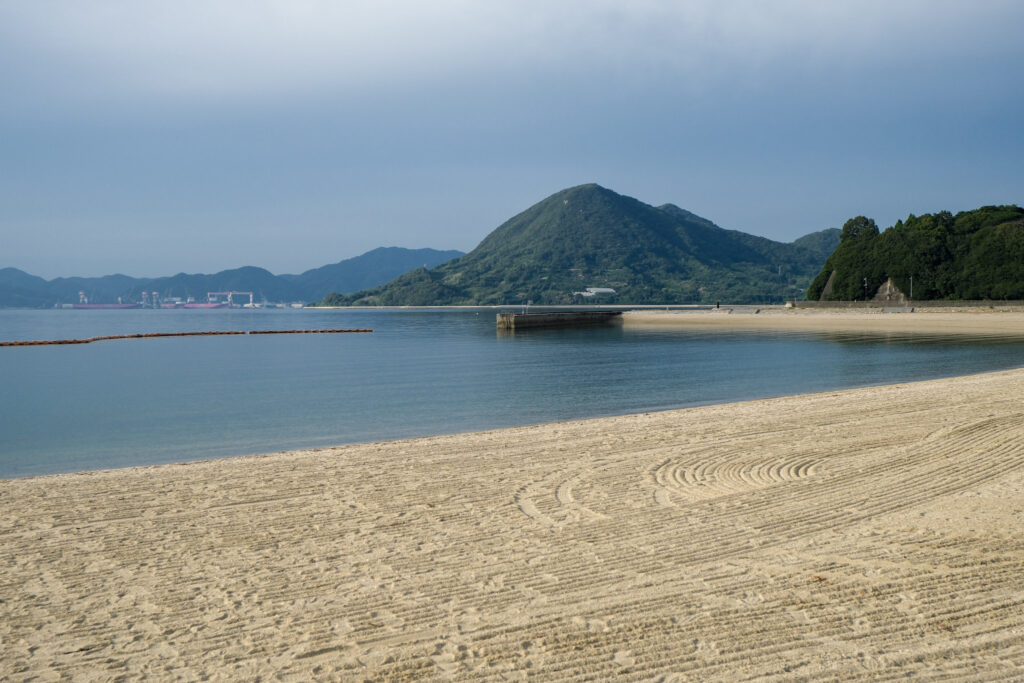
The Shimanami Kaido is a famous cycling route in Japan that connects the main island of Honshu to the island of Shikoku, crossing through several smaller islands in the Seto Inland Sea. The route is connected by six large bridges, each one of them an incredible experience in their own right. The cycle route is officially 70km, but in cycling it, you’ll cover about 75-80km.
It’s a scenic route, taking you high up over the sea on the bridges, along the coastline of the islands, and through forest-lined cycle trails. Along the route, you’ll see a blue line marked on the road, making it easy to follow the Shimanami Kaido, even without a map!
Over 300,000 cyclists take on the Shimanami Kaido every year, both local and foreign. It’s considered one of the best cycle routes in the world, and once you experience the views and the feeling of the salt air along the coastline, it’s easy to see why.
The Route
The Shimanami Kaido route starts and ends in the cities of Onomichi on the Honshu side, and Imabari on the Shikoku side. Most cyclists opt to start in Onomichi, where the sea breeze will be to your back, and end in Imabari, although plenty do it the other way round.
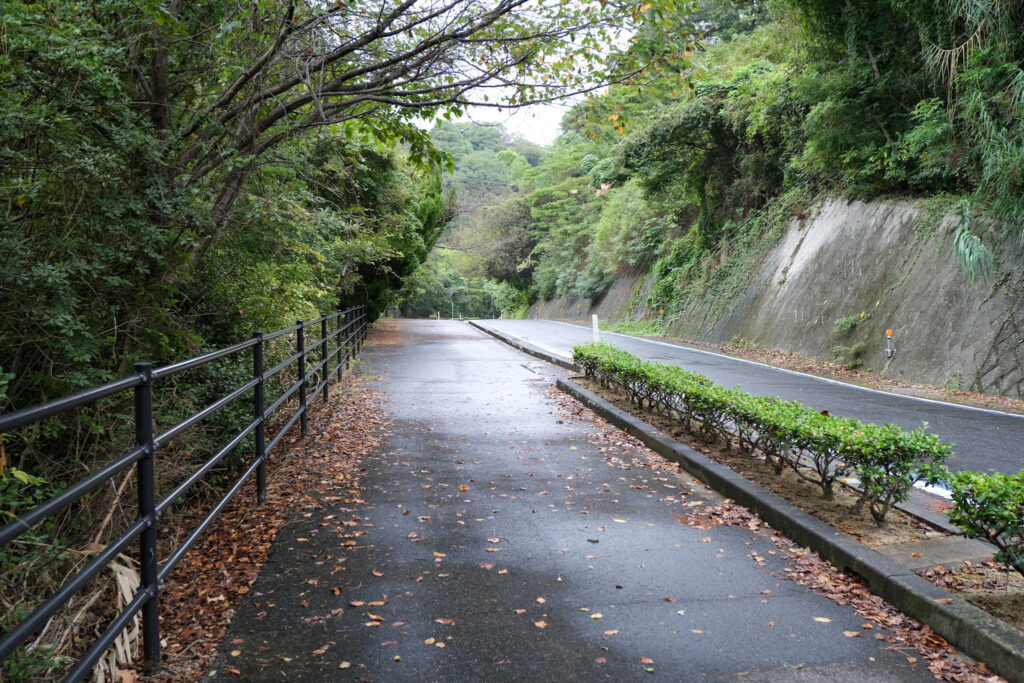
It’s a designated cycle route, marked with a blue line on the road, so it’s hard to get lost. At points on the islands, you’ll share the roads with vehicles. Compared to cycling in London, where I live, the Shimanami Kaido felt like an extremely safe cycle. It’s such a popular route that drivers are conscious of cyclists.
Each island of the route is connected by a bridge, with a steep climb up to each. The climbs up to the bridges are about 1km long, and take a kind of spiral or winding route upwards.
Each bridge is slightly different, but the cycle routes are protected. It can feel scary cycling over open water with cars speeding by on your left, but there is always a barrier between you and the vehicles so you are safe.
Why Cycle It?
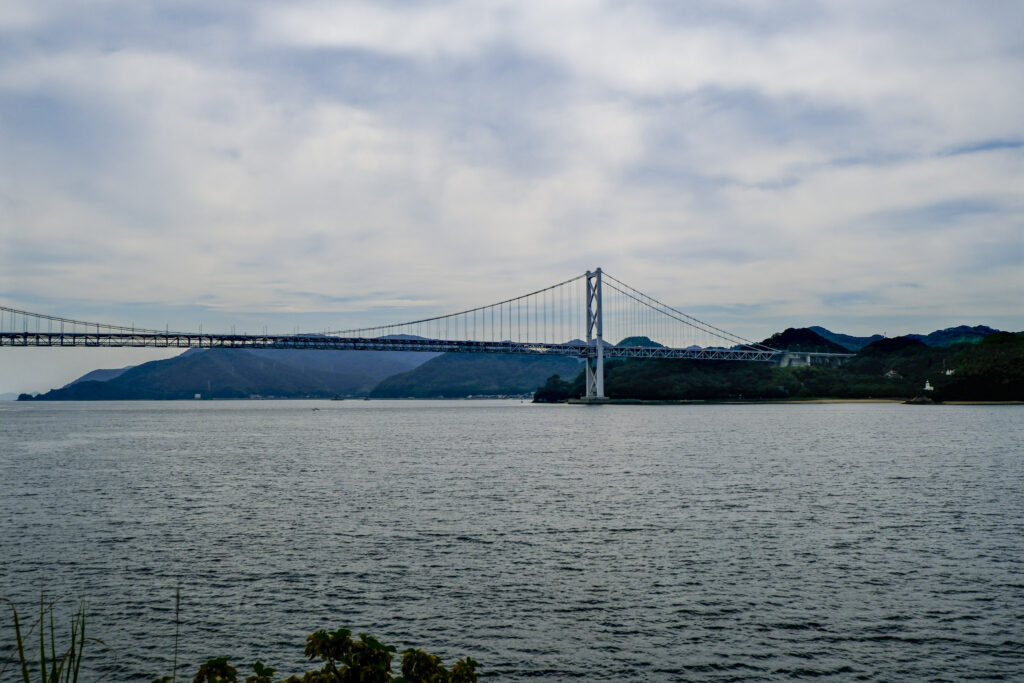
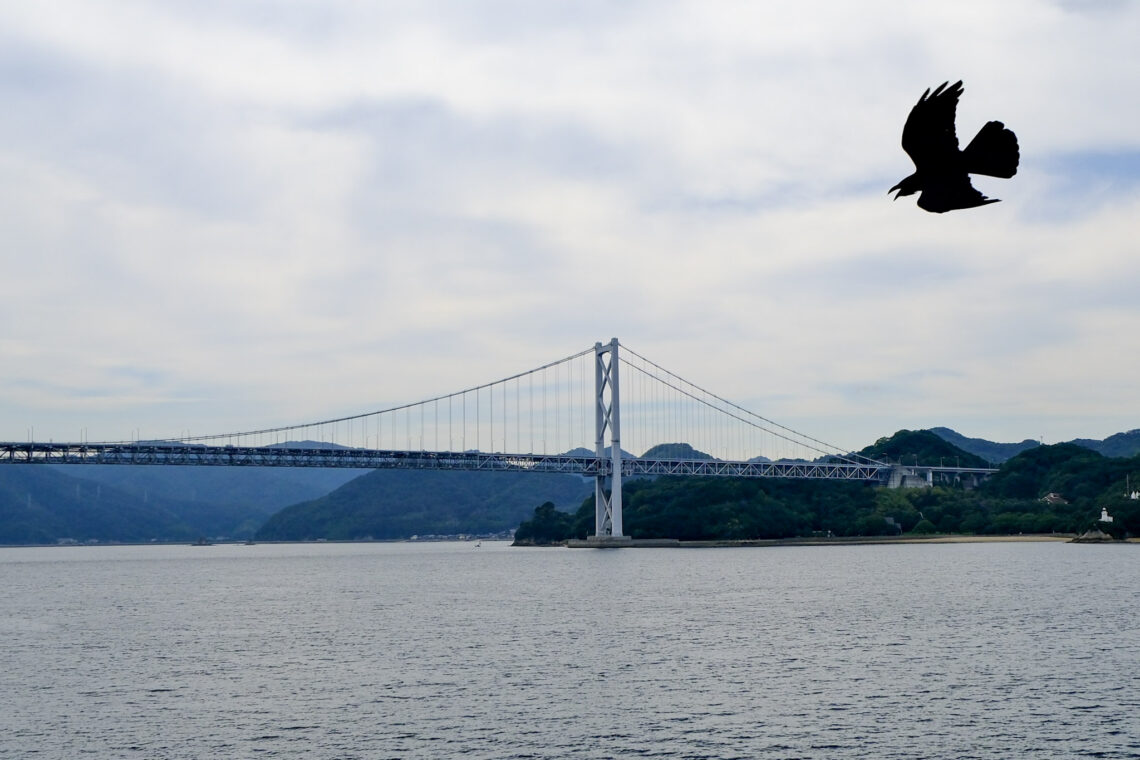
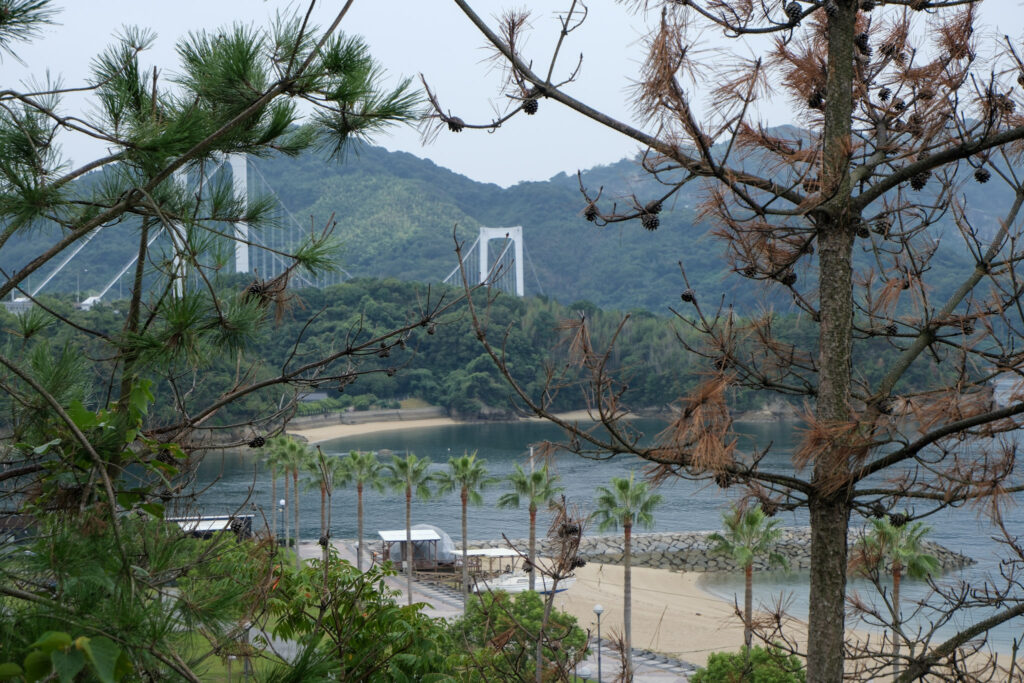
The route takes you over six massive bridges, the shortest being about 380m across, the longest at 4km. Each one is an incredible feat of engineering, taking you high over the waters of the Seto Inland Sea, with nothing but boats and small islands around you. Each one gives you a completely unobstructed, panoramic view of a landscape that only a handful of travellers get to experience.
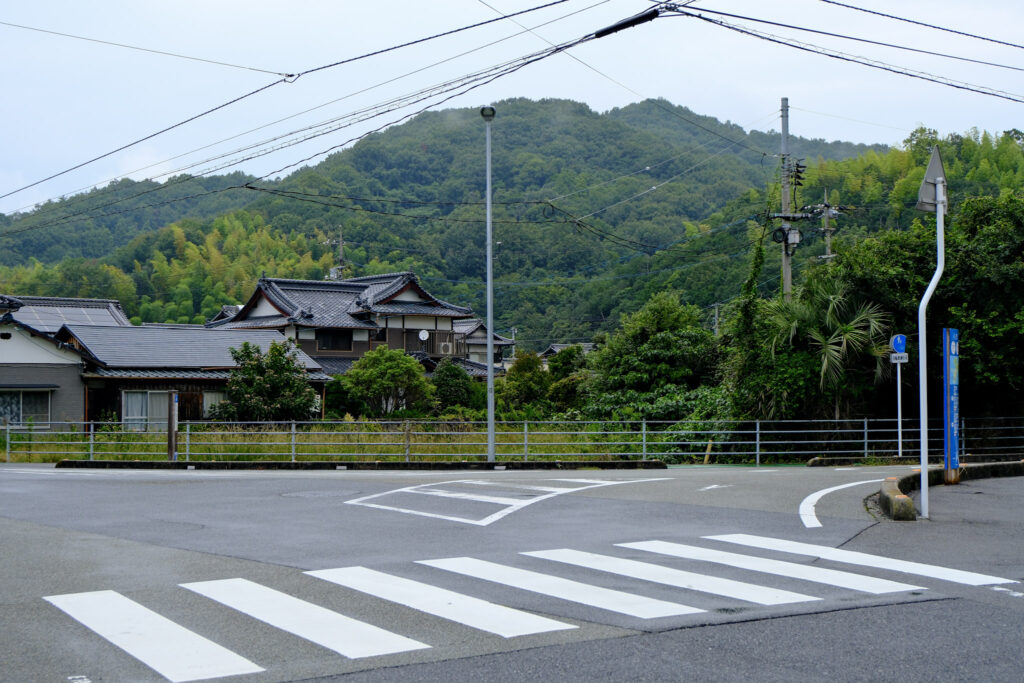
After busy city experiences in Tokyo or Kyoto, changing gears (pun intended) to the quieter, slower island life is a gorgeous break. You may be physically exerting yourself, but you’ll ride through small villages, citrus groves, little shipyards and bamboo-lined cycle trails. You’ll go to sleep tired, but accomplished.
The cycle route allows for you to go at your own pace. Whether you want the challenge of riding it in a single day, or splitting it up and experiencing the islands, or even just taking a bike out for a few hours and completing only part of it – you can. It’s easy to stop at any point, with a good ferry network between islands and regular bike stations to drop rentals back to. It can be as challenging or leisurely as you want it to be.
So if you’re looking for a trip that balances nature, sea air, physical achievement, and a glimpse of another side of Japan, the Shimanami Kaido is more than you could ask for.
The Best Time to Go
The peak seasons for cycling the Shimanami Kaido is usually Spring (mid-March to May) and Autumn (late September to early November).
The summers in Japan can get very hot, and winters, especially around coastal areas, can have bitterly cold winds.
Weather everywhere is unpredictable, but in Spring you’ve got a higher chance of mild, clear days with a cool breeze and a chance to see cherry blossoms. In Autumn, the weather tends to be cool and dry, with a chance to see the changing leaves.
If you’re travelling in Summer, the days do get very hot, but you’ve got more daylight hours to work with. In Winter, you’re dealing with the cold but the visibility tends to be the clearest of the islands and the sea.
Naturally, peak times of Spring and Autumn mean that bike rentals and accommodation can get booked out, so read on to make sure you’re planning everything well in advance.
Planning Your Trip
Getting There
I’ve written a more in-depth post on how to get to and from the Shimanami Kaido here. If you’re cycling the whole route, you’ll need to think about your transport to and from Onomichi and Imabari.
If you’ve got the JR Pass, you can make the most of it to cover your transport. I’ve written a separate guide to the JR Pass here, which I recommend reading before you decide whether the pass is right for you.
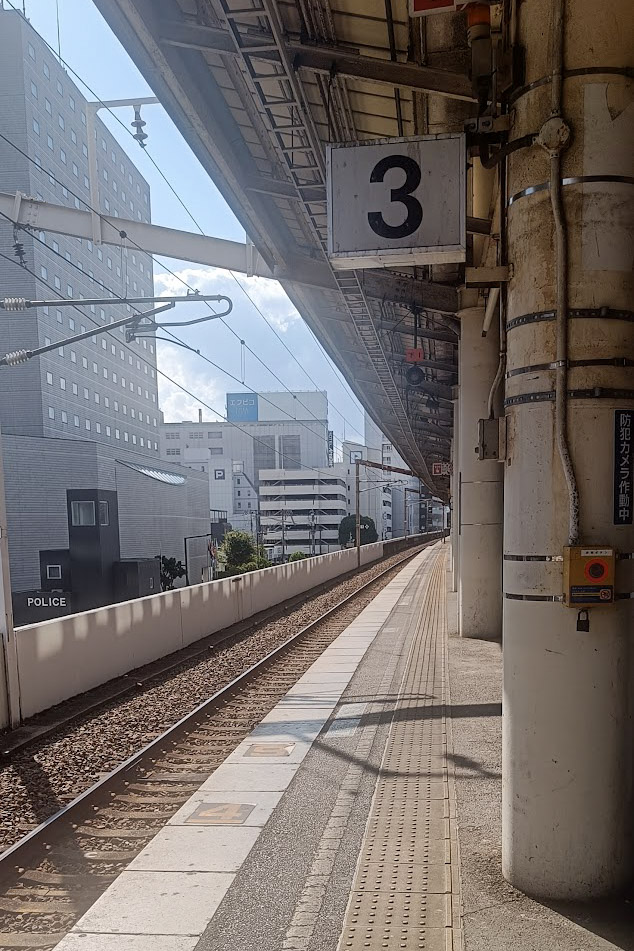
For Onomichi, the closest well-connected station is Fukuyama. Trains from major cities like Osaka and Tokyo run into Fukuyama, and from there, there are regular 20 minute local trains on to Onomichi.
For Imabari, there’s a bus to/from Fukuyama. Or if you travel into Okayama, there’s a local JR Yosan line that runs to Imabari.
If you’re flying, Hiroshima is the closest major city and airport to Onomichi, while Matsuyama serves Imabari.
How long do I need?
Recommended: Two-Day Cycle

This is a hard question to answer as it depends entirely on your cycling fitness and how much you prioritise exploring the islands vs. the speed of covering the distance.
The standard, most enjoyable itinerary for recreational cyclists is the one I did, which has you cycling over two days, with a one night stopover on one of the islands.
This itinerary means you’ll be cycling around 35-40km per day, with about 4-5 hours of active cycling time. This gives you plenty of time to take breaks, veer off course for some sightseeing and stop for some photos.
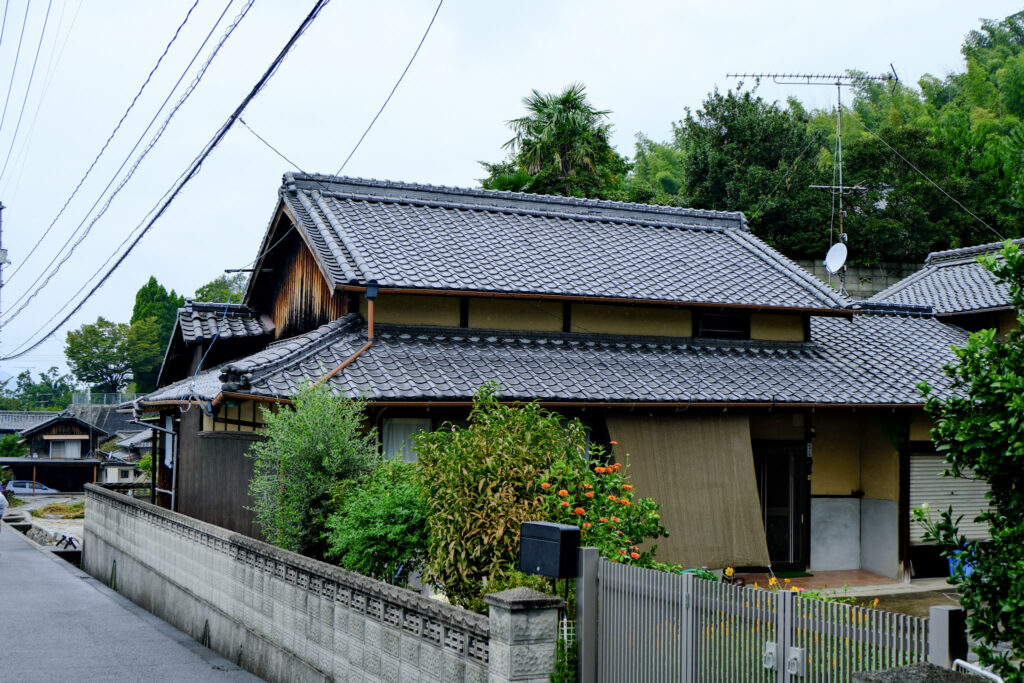
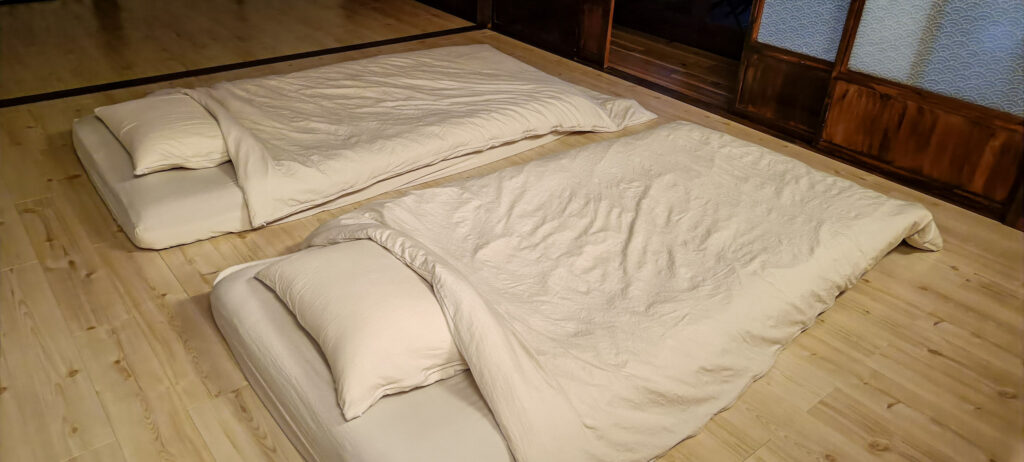
And from personal experience, it’s a lot of fun staying on one of the islands overnight. It’s a much slower pace of life than the big city nights. On my cycle, we stayed overnight in Omishima, in an airbnb. That night, after a long bath with a lot of epsom salts, I was sitting out on a veranda with a cup of tea. I was in a quiet residential neighbourhood, with traditional Japanese homes all around me. Over the tops of the curved roofs, I could hear the sound of drums in the distance – maybe from a local temple.
The evening rest is just as much a part of the experience as the day on the bike, so especially for first timers, I strongly recommend this. If, like me, you’re travelling long distance to Japan, this isn’t something you’re going to be able to nip back and experience again, so why not make it part of your journey?
I’ve written a more complete two-day Shimanami Kaido itinerary here, which covers the full route, the bridges, and sights to see along the way.
I’ve also pared the itinerary back into a downloadable, easy-to-skim PDF version, which you can get for free below:
Hard Mode: One-Day Cycle
Although I truly think the two-day Shimanami Kaido is the best option, doing it one day is an incredible athletic challenge. This has you covering the complete route in a single day, and you’re looking at about 8-10 hours of active cycling time. You’ll need to maintain about a ~15kmph speed on the bike. If you’re on a rental bike, you’re on a deadline: most rental shops close around 18:00.
Single day cycles give you little room to see the islands, focusing more on speed and perseverance.
This itinerary is not recommended for beginners or casual cyclists, instead it’s better geared towards experienced cyclists and those in good physical shape.
How fit do I need to be?
Honestly, not very. It’s a hard thing to measure because we’ve all got different bodies and abilities, but this is a beginner friendly route and you don’t need to be an athlete to do it.
I can tell you my personal experience: I work in tech, so I’ve got a sedentary desk job from 9-6 every weekday. I go to the gym a few times a week, and I find the treadmill boring so you’re more likely to find me by the weights. I can walk for hours happily (and in the grand tradition of Londoners, I walk fast), but good luck getting me to do a Park Run or, god forbid, a marathon.
None of this is a humble-brag, “I’m actually super fit but want to seem casual” kind of thing. I don’t consider myself particularly fit. The hills up to the bridges of the Shimanami Kaido got the better of me and I wheeled the damn bike up half of them (maybe slightly over half).
But, I was capable of doing the Shimanami Kaido cycle.
If you can ride a bike for 30-40 minutes at a time, if you can climb a few flights of stairs, and you can carry about 7kg in a backpack, you can do this.
Cycling the Shimanami Kaido is different to cycling in a city. There are fewer traffic lights so you’re nearly constantly moving, but you can stop whenever you need to and take a break, and that’s where the two-day itinerary buys you a bit more breathing room.
If you’re going as part of a group, and you’re worried about how you might keep pace with other members of the group, you can also consider hiring an e-bike. These book out quickly, so reserve it well in advance – at a month out, we were too late. I’ve covered more about bike rentals in this guide, so you can choose the bike that best suits your needs.
You also don’t have to do the complete cycle. On the public bike rental system, there are cycle stations on every island. You can drop the bike back to any of them, so if you get a couple of hours in and want to call it a day, that’s totally fine. Return the bike, grab a ferry back to your start point, and be proud of yourself that you got out there!
In short, don’t let yourself miss out on this experience because you’re worried about how you’ll manage. The plan can be adapted, and it’s so easy to do, but you deserve to give the Shimanami Kaido a shot.
How do I get a bike?
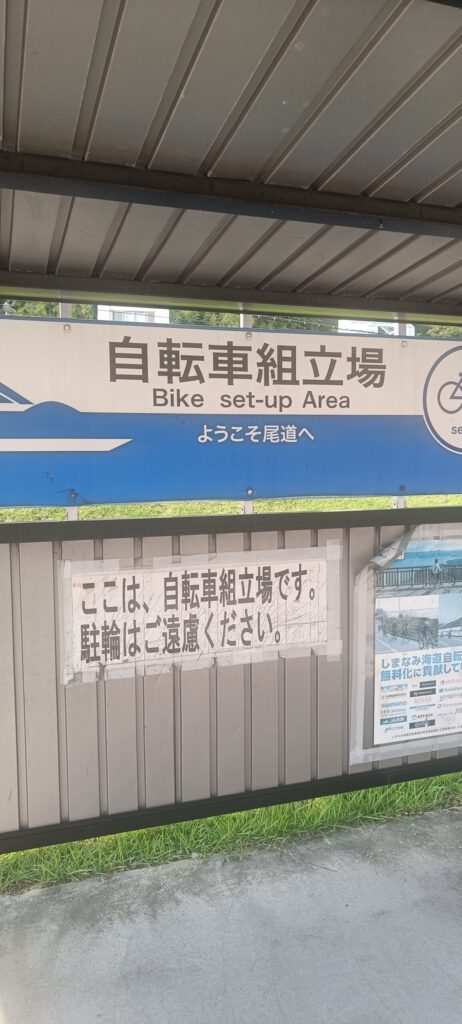
When it comes to bike rental, you’ve got two options: public rental or private rental. Which you go for depends on what your priorities are. Public rental has a more limited range of bikes, but it’s cheaper and there are cycle rental and return stations on every island, giving you more flexibility. Private rental is more expensive, with less return flexibility, but it does give you a wider range of higher-spec bikes.
I’ve written a complete bike rental guide here, which boils down the costs and different bike types.
For recreational or amateur cyclists, my recommendation is to go with the public rental system. This is what I did, renting a standard city bike, but there are e-bikes available too if you book early enough.
For more experienced cyclists and those who prioritise speed, especially if you’re doing a single day ride, the private rental is likely the better option for you.
Where do I stay?
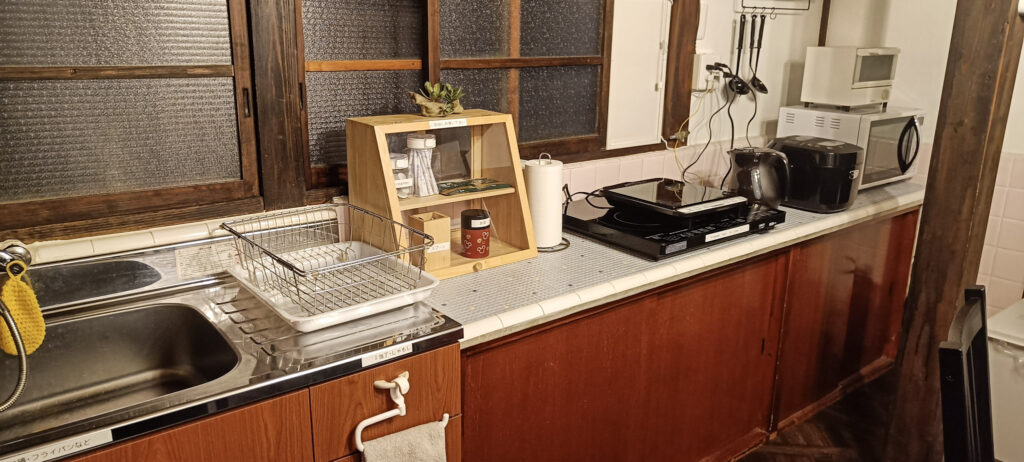
To start with, I’d strongly recommend staying overnight in the city you’re starting from, whether that’s Onomichi or Imabari. This gives you a chance to stock up on any supplies you need the day before (and I’ve got a separate food guide for vegan travellers).
Plus, you can wake up the first day of your cycle feeling well-rested. If you’re planning on setting off early when the bike rental shops open around 8am, it means you’re already nearby and good to go. The alternative is travelling to your start point early that morning, but why put yourself through a busy morning of travel just before hours on the bike?
If you’re doing a two-day Shimanami Kaido cycle (or more!), you need to think about where you want your stopover to be. Omishima and Ikuchijima islands are the most popular islands for overnight stays as they’re about halfway along the Shimanami Kaido.
Both islands have something to offer: Ikuchijima has more in the way of amenities like convenience stores and restaurants, especially around Setoda town area. Omishima, however, means you’ll have a shorter cycle on Day 2 if your end point is Imabari.
On our cycle, we chose Omishima for this reason. We knew we’d be tired after the first day, so front-loading the longer distance meant it was an easier ride on the second. It also happened that our first day was gorgeous weather, while the second was rainy and misty, so I’m very glad we did it this way.
Then you need to choose whether your priority is the self catering of an Airbnb or similar, the comfort of a hotel, or the budget-friendliness of a campsite. I’ve written a complete Shimanami Kaido stopover guide here, which helps you decide what island is right for you, and what kind of accommodation you should pick.
Some accommodation examples:
- Omishima SPACE: various sized rooms, each with a kitchenette
- Hotel Innoshima: a hotel with a public bath and onsite restaurant
- Guesthouse Yadokari: A traditional guesthouse on Oshima Island, not to be confused with Omishima. This is about 20km from Imabari, which means you can front-load even more of your cycle if you want to!
- Airbnb: This is the Airbnb we stayed in on Omishima island. It’s tucked away in a quiet residential area, and it’s huge. I’d highly recommend.
What should I do with my bags?
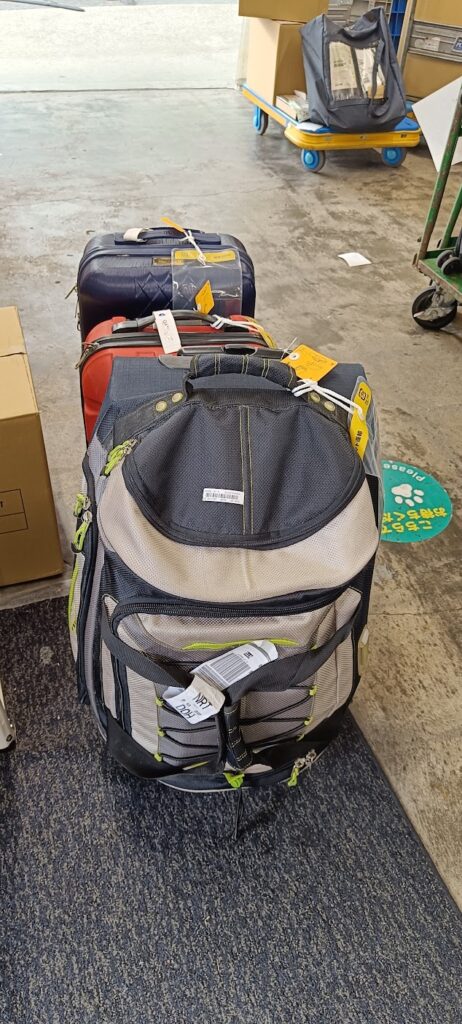
If you’re travelling to Japan from abroad, you’re likely going to have suitcases with you. I’ll be straight with you: You cannot do the Shimanami Kaido with a suitcase, or even a large backpacker-style backpack. It’s not safe, and it’s not going to be fun. I’ve written an easy how to on luggage forwarding here.
You’ve basically got three options:
- You do a round trip, same-day cycle, starting and ending in the same place. For example, leaving your bags in your accommodation in Onomichi, then cycling to Ikuchijima and back again in the same day.
- You use a same-day service like Sagawa Express, forwarding your luggage on to your stopover hotel, and then on again to your final destination.
- This comes with risks if anything happens and it doesn’t arrive on time or you arrive at the drop-off spot after the deadline. Plus, you’ll need to pay the forwarding fee each day, as well as haul your luggage to the depot in the morning.
- Or, the third, and the recommended option: Use a luggage forwarding service. Japan’s takuhaibin services are famous, and for very good reason. It’s reliable and efficient, allowing you to say goodbye to your luggage in your starting destination, and see it again at your end point. I’ve written a guide to luggage forwarding here.
- This is what I did on my Shimanami Kaido and I can’t recommend it enough. It was affordable, and incredibly reliable. By the time we got to our hotel in Imabari, our bags were already there waiting for us.
My advice? Use luggage forwarding, and pack lightly for your cycle. If you’re doing a two-day cycle, you won’t need to carry that much with you. I’ve written a packing list here, where you can download a PDF checklist too.
The Route
Bridge by Bridge
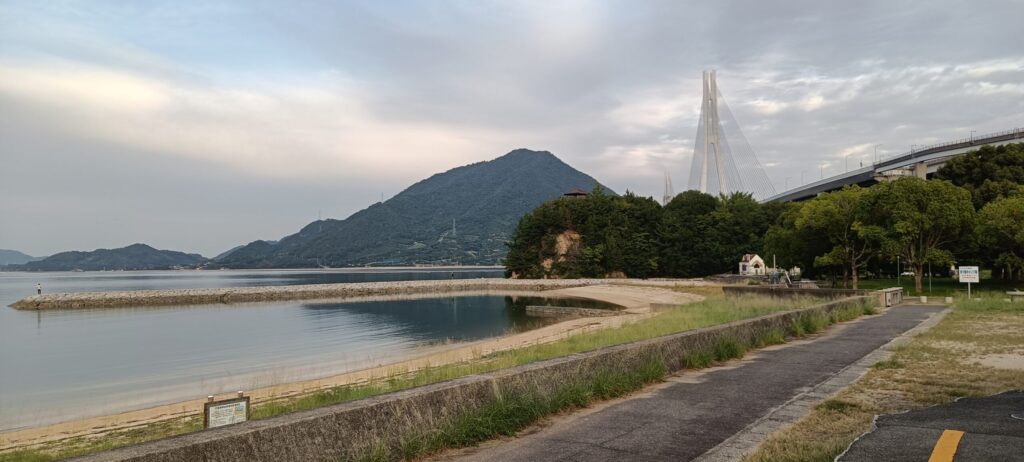
The Shimanami Kaido is connected through the islands by six bridges. The shortest of these is Omishima Bridge at ~328 m across, while the longest is the final ride into Imabari, the world’s first triple-suspension bridge, Kurushima-Kaikyo at a whopping 4.1km across.
Each of the bridges is unique in their own way. From order of Onomichi to Imabari, the bridges you’ll encounter are:
- Innoshima Bridge: Connects Mukaishima to Innoshima. The suspension bridge is about 1.3km across with an ascent of about 50m. This bridge is a double decker: The top deck is for motor vehicle traffic, while cyclists ride on a dedicated lower deck. For the first bridge of your ride, it feels very safe and it’s really cool riding across the tunnel-like path over the water.
- Ikuchi Bridge: Connects Innoshima to Ikuchijima. The second bridge on the Shimanami Kaido is about 790m across, with a ~35m ascent. At the time of its completion in 1991, it was the largest cable-stayed bridge in the world.
- Tatara Bridge: Connects Ikuchijima to Omishima. Measures about ~1.5km across, at a height of 48m above sea level. Like the previous bridge, it’s cable-stayed and there’s a rest stop on the Ikuchi side – a perfect spot to pause for a photo.
- Omishima Bridge: Connects Omishima to Hakatajima. The shortest bridge of the Shimanami Kaido, it measures 328m across. Riding over this arch bridge, you’ll be 41m above sea level, cycling in a protected cycle lane.
- Hakata-Oshima Bridge: Connects Hakatajima to Oshima. This is actually two bridges that are connected in the middle, with a total combined length of ~1.16km. The bridges connect over the tiny Michika Island, with exit ramps if you want to go explore, or take advantage of the campsite for the night.
- Kurushima-Kaikyo Bridges: Connects Oshima to Imabari. The final, and most impressive bridge of the Shimanami Kaido. This is the world’s first triple suspension bridge, meaning it’s three bridges connected together, with a combined length of ~4.1km. The bridges cross over Umashima Island, with an elevator to go down to the island, as well as two rest areas on the bridge. The rest areas extend out on the ocean side so you can pause, catch your breath and grab some photos.
In my two-day Shimanami Itinerary post, I’ve laid out what to expect island by island and bridge by bridge, or you can get the mobile-friendly PDF version below:
At the time of writing (December 2025), the tolls for cyclists have been waived until March 31st 2026 as a measure to promote tourism. On my trip in October, we didn’t have to pay any tolls, but when these are in place, they’re about ¥100-200 per person, per bridge.
If you’re planning a trip for April 2026 onwards, check whether the tolls are in place or not. If you’re not sure, keep some cash on you just in case!
Exploring the Islands
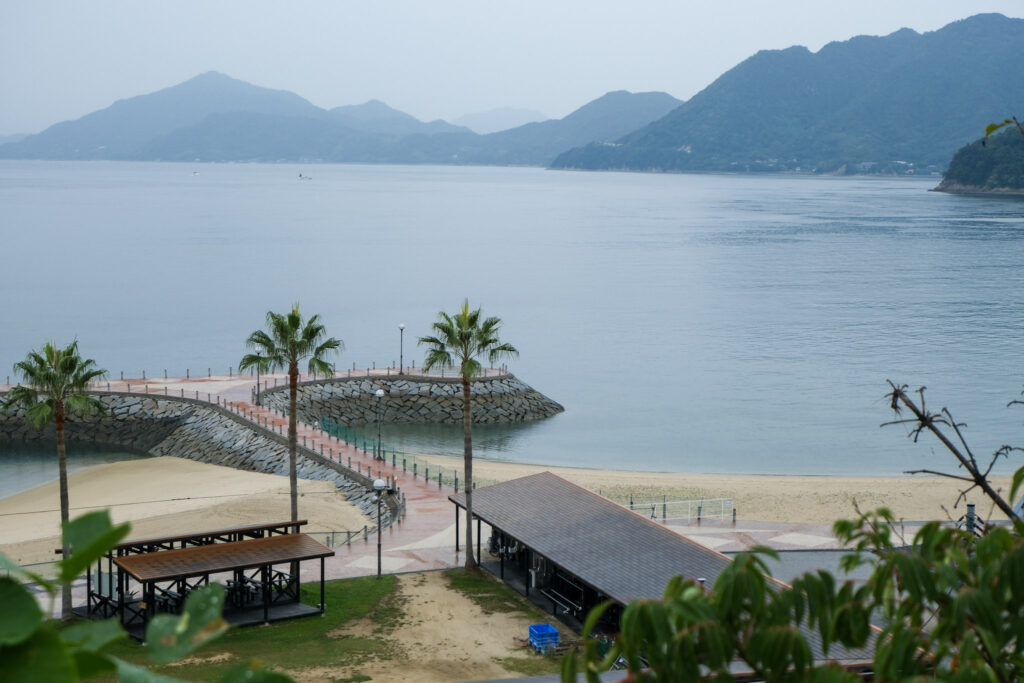
Beyond the Blue Line of the Shimanami Kaido is where you’ll really get to discover the islands and all they have to offer. Each one is slightly different, with their own sights to see and specialities to try.
Sticking to the Blue Line is still an amazing adventure, taking you across the bridges, along the coastlines and through the islands, but if you have the time and want to explore further, the islands themselves are worth seeing.
Every island has character and its own identity, whether it’s citrus production, shipbuilding or salt production. Taking the time to veer off course can take you up to viewpoints, finding small family-run eateries, or exploring the art of the islands (especially on Ikuchijima, which is famous for it).
In my Shimanami Kaido island guide, I’ve broken it down island by island to give you an idea of what each one has to offer, and help you decide what to put on your own itinerary.
Eat, Sleep, Cycle
Where to Stay
As I’ve covered in an earlier section, where you stay depends on what your priorities are.
If you’re a vegetarian or vegan traveller, like me, I’d recommend getting self-catering accommodation so you can prep your meals. The islands are small, and as charming as the local restaurants are, there’s no guarantee you’ll get exactly what you’re after. The islands are quite seafood heavy, so your best bet might be to make your own meals. I’ve written a separate vegan Shimanami Kaido guide here to help you plan.
If food isn’t a concern for you, then it comes down to whether you’d prefer self-catering, a comfortable hotel, the excitement of camping, or even glamping.
I’ve written an accommodation and stopover planning guide here to help you choose the best options for you.
For some ideas of accommodation options in the meantime:
- Omishima SPACE: various sized rooms, each with a kitchenette
- Hotel Innoshima: a hotel with a public bath and onsite restaurant
- Guesthouse Yadokari: A traditional guesthouse on Oshima Island, not to be confused with Omishima. This is about 20km from Imabari, which means you can front-load even more of your cycle if you want to!
- Airbnb: This is the Airbnb we stayed in on Omishima island. It’s tucked away in a quiet residential area, and it’s huge. I’d highly recommend.
- Traditional Ryokans such as the Suminoe Ryokan.
- Glamping such as Glampdome.
Keeping Fuelled
Staying hydrated and fuelled makes all the difference between an amazing ride and a gruelling one. Because of it’s popularity with cyclists, you’ll find plenty of convenience stores and restaurants along the Shimanami Kaido, meaning you rarely need to carry heavy food and drink supplies.
The Essentials:

You should carry one or two full water bottles, but vending machines and convenience stores (konbini) are everywhere, especially near bridges and rest stops. If you bring a reusable, insulated bottle with you, it’s easy to refill your bottle and take a break whenever you need to. I swear by my Chilly’s bottle – it keeps water cold for hours, which I was incredibly grateful for on our sunny first day.
For snacks, the same goes: every convenience store has a great selection, so you’re not going to find it hard to find a protein bar, small pack of sushi, bag of nuts or whatever you’re into. It’s worth having one or two snacks in your backpack all the same. You’re going to be burning a lot of calories, so pausing roadside to scarf down a protein bar could give you the boost you need.
Convenience stores also sell sports and electrolyte drinks like Pocari Sweat or Aquarius, which are helpful to give you a boost!
Meals
The best places to stop for a proper meal are usually in the main towns near the ferry ports or bridge exits, such as Setoda Town on Ikuchijima or Miyaura on Omishima.
The islands are well known for fresh seafood and local produce, but finding options for vegetarian or vegan diets does need a bit more planning. If you’re a plant-based traveller, or have other dietary requirements, I’ve written this vegan Shimanami Kaido guide to go more in depth. Naturally, I’ve written it from my perspective as a vegan, but even if you eat a vegetarian, gluten-free, medical- or belief-based diet, the same logic and advice applies. Hopefully you’ll see from my guide that it’s still very possible for you to do the Shimanami Kaido, you just need to do a little more upfront planning!
Budget, Packing and Essentials
Your Trip Budget
The Shimanami Kaido can be a very affordable adventure. The costs are pretty straightforward, and unless you go absolutely wild in the snack aisle at Family Mart (understandable), your budget won’t shift too much once you’ve done your planning.
When calculating your budget for a two-day itinerary, consider three main areas:
- Bike rental: Variable depending on the bike type and whether you go for public or private rental.
- Accommodation: Can be free if you make use of one of the free campsites, or as luxe as you want it to be (eg. Glampdome Glamping on Ikuchijima Island will run you about ¥102,000 per night).
- Food and Drink: Estimate about ¥1000 per day for water and electrolyte drinks, and another ¥2,000 or so for snacks and meals. Eating out will naturally be more expensive, while bringing a packed lunch is one way to keep the budget tight.
I’ve done a complete cost breakdown in another post, and I even got my old Casio calculator out to show you my own, real expenditure. See the post here.
What to Bring
Keeping your backpack as light as possible is key for your Shimanami Kaido ride. You want to feel completely unencumbered and free as you climb those hills or soar across the sea.
I’ve mentioned this further up the page, but I cannot recommend Japan’s luggage forwarding, or takuhaibin, services enough. Forwarding your bulky luggage on to your final destination gives you the freedom to travel with only a small backpack.
When thinking about what to pack for the Shimanami Kaido, you need to think about what the bare minimum you need is, and ways you can keep your load light. I’ve written a full guide to packing, for both single day and multi day cycles, which I recommend reading before you set off.
At a minimum you’re going to need:
- Windbreaker or waterproof jacket (this is the one I have).
- Padded cycling shorts – I forgot mine and I’ll spare you the details, but just take my word for it.
- Layers – think vest, t-shirt, long sleeve t-shirt. Clothes you can easily add or remove as the weather changes.
- Socks – a pair for each day you’re cycling, and another clean pair to wear off the bike for dinner etc
- Underwear – apply the same rule as socks
- Battery bank (fully charged)
- Water Bottle – Shoutout to my Chilly’s bottle
If you’re doing an overnight cycle, think about ways you can cut back on the essentials. For example, if you’re staying in a hotel, check whether they have toiletries and skip bringing your own shampoo and shower gel. If you’re travelling with someone else, what can you share? Maybe one of you brings the phone charger, and the other has the sunscreen covered.
On my own ride, part of the reason we chose an Airbnb was that it had a washer/dryer. I didn’t bother packing a change of clothes, I just stuck my clothes in the wash as soon as we got in. Just as well the washing machine was working, or I would have spent the next day rolling across the bridges in yellow satin Chelsea Peers pyjamas.
You can read the packing list post here, or download a PDF checklist below.
Tips
Once you’ve got your route, your bike and your accommodation sorted, these final little tips help make your trip that little bit more comfortable:
- Padded shorts:
- The saddle on the rental bikes will likely be firm, so padded shorts can make all the difference (ask me how I know). If you’re not comfortable with padded shorts, a gel seat cover like this one is a good option.
- Look out for cycle oases:
- Keep an eye out for signs marking “cycle oasis”. These are small businesses that volunteer to give cyclists free water refills, bathroom access and airpumps
- Skip your own pump, or bring adaptors:
- My husband brought a small air pump in his backpack. When he got a flat along the way, it turns out that the connector on his bike tire didn’t fit with the one on the pump he’d brought. Luckily, we were near a cycle station and a local worker stopped to lend a hand.
- Ride on the left, in single file:
- Japan, like the UK and Ireland, drives on the left so it’s a no-brainer for us. If you’re coming from another part of the world, be mindful of this.
- Always keep in single file – you can stop and chat later, don’t hog the road.
- You’ll take longer than you expect:
- You’d be surprised how often you stop for photos, water, food, snacks or even just to catch your breath and admire the view. All of those pitstops add up, and your 4 hour cycle can very easily become 6-7 hours without even trying!
- Start early:
- Related to the above, start early, especially in winter months. You want to be at your accommodation by nightfall, so however long you think it’s going to take you, add a couple more hours to be on the safe side.
Ready to Hit the Road
Finishing the Shimanami Kaido in Imabari was anticlimactic. Pulling into the i.i.imabari cycle station by the railway station, there was no fanfare, no big banner announcing the end of the line, just a man pointing at a box to dump our helmets in.
We got into the cycle station around the same time as a friendly Swiss family that we’d crossed paths with multiple times over the last few days. After we were relieved of our bikes, my husband, the Swiss family and I stood awkwardly in the forecourt, all of us thinking “Is that it? Are we done?”.
For me, the real “I did it!” moment was riding across the final bridge, the Kurushima-Kaikyo. My last view out over the Seto Inland sea, and the final push to the finish. It was only later, long after the best wishes with the Swiss family, and after I’d had a very long bath, that it all hit me.
None of this is a negative thing. Bucket list experiences like this one aren’t supposed to end with applause. We do them for ourselves, for our own sense of achievement, and our own joy of the journey.
If you’ve done the Shimanami Kaido before, or you’re reading this planning your cycle, then you’ll know what I mean. You’ll get to that last bridge, you’ll drop your bike back, and it’ll be all so casual but all so rewarding at the same time.
So, to wrap up this guide, let’s recap on everything you’ll need to think about for your own extraordinary ordinary journey. I’ll link to the deep-dive guides for each facet of your trip planning:
- Bike rental
- Accommodation and stopover plan
- Island by island breakdown
- Vegan food guide (relevant to other dietary considerations too)
- Luggage forwarding guide
- Packing list
- The two-day itinerary
- Getting to and from the Shimanami Kaido
- The budget breakdown, with my own real costs
I hope you’ve found this guide, and my series of posts, helpful in planning your Shimanami Kaido adventure. When I started writing this, I wanted to cover everything I wish I’d known, and everything I had to learn along the way. If any of this helps you have a happier ride, then I’ve done what I set out to do.
And if you’ve got any tips of your own, or want to share your own story, then I’d love to hear from you: you can email me, or drop me a line on Instagram.